

Run Your Stall From the Big Screen: A Guide to the Seller Portal
The Commercial plan adds a desktop back-office: bulk product upload, a photo library, tax invoices, and Stripe ID setup without your phone.
Most of SideStall is built for your phone at the gate. That is the right place to flip your stall open, snap a photo of today's eggs, and answer a buyer while you are stacking the table. But once you are running a real operation, some jobs are just easier on a big screen with a keyboard: loading thirty products at once, sorting your photos, doing your ID verification, pulling a tax invoice for a wholesale order.
That is what the Seller Portal is for. It lives at portal.sidestall.au, it is part of the Commercial plan, and it is the same account as the app, so your stalls, orders and messages are already there when you log in. Your buyers never see it. They stay on the app, finding you on the map and ordering ahead. The portal is just your back office.
Who it is for, and what it costs
The portal comes with Commercial, which is A$150 a month, with the first 30 days free on your first Commercial subscription (billed annually it saves about 17%). It is built for registered food businesses, meat producers and farm gate operators, the sellers who have outgrown running everything from a phone.
Worth being clear about one thing, because sellers ask: taking payment does not need a paid plan. You can accept card payments on Free. Commercial is about the desktop portal, tax invoices and purchase orders, and product variants. If you are a weekend stall, the app is all you need.
Signing in, and the dashboard
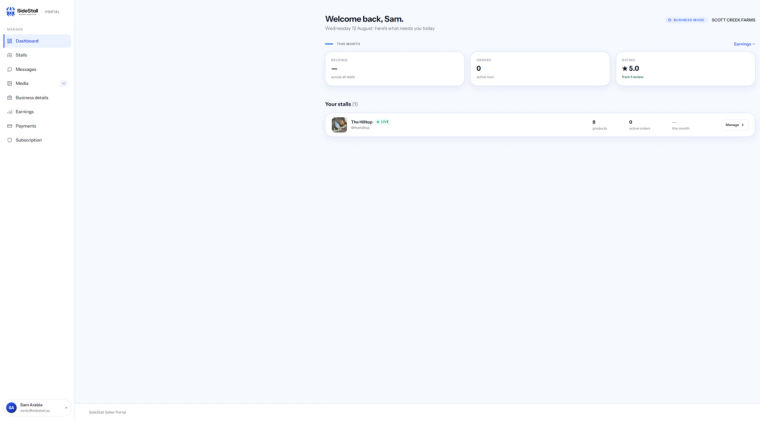
Log in with the same Google, Apple or email you use in the app. You land on the Dashboard: a "welcome back" greeting and three THIS MONTH cards that add up across all your stalls, Revenue, active Orders, and your Rating with its review count. Below that is "Your stalls", one row each with a thumbnail, name, @handle, a LIVE dot, the product count, active orders, this month's earnings, and a Manage button to open it.
The product manager
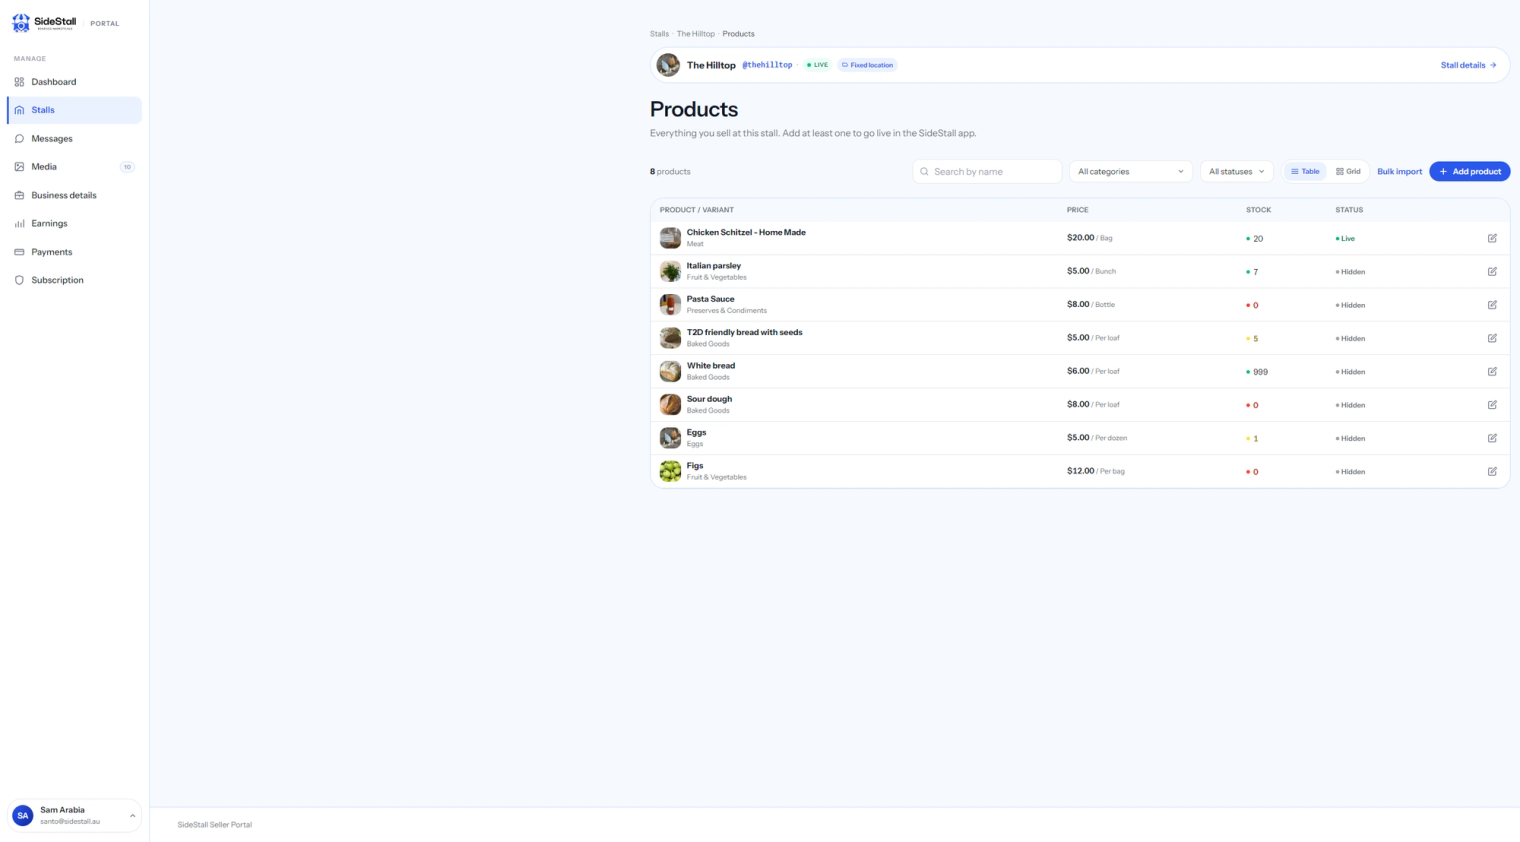
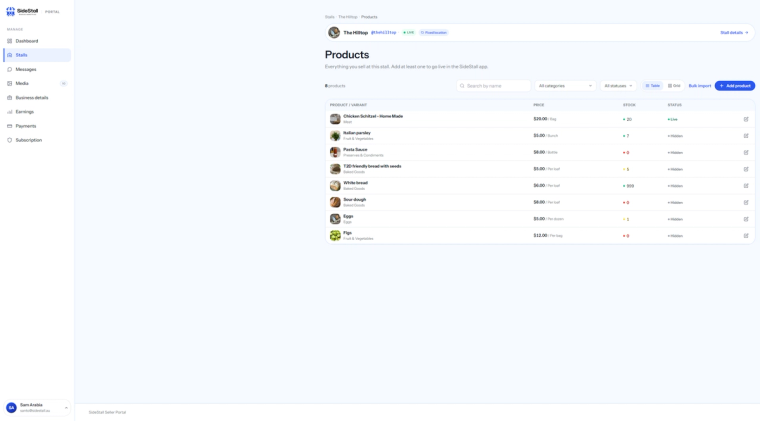
Open a stall and you get the product manager: a spreadsheet-style table: photo, name, category, price with its unit (/kg, /dozen, /bunch, /per loaf), stock with a health dot (green, amber or red), and a Live or Hidden status, with an edit icon on each row. Across the top you can search by name, filter by category or status, flip between Table and Grid view, and reach the two buttons that matter: Add product and Bulk import.
Adding a product, field by field
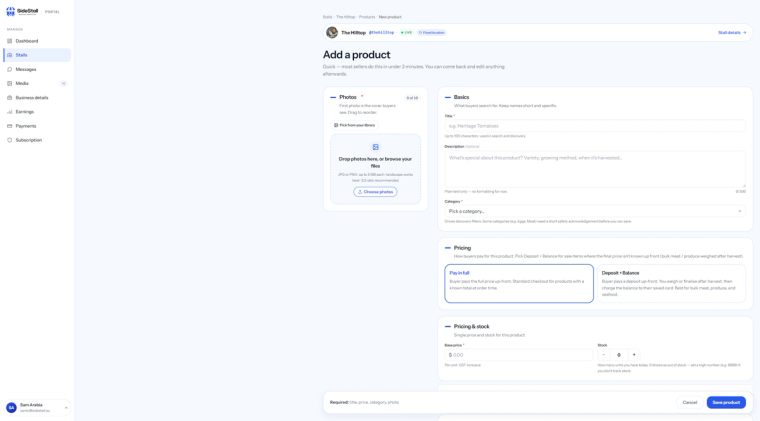
The add-product form is the same information the app asks for, laid out so you can fill it in properly.
- Photos: up to 10 per product, the first is the cover, drag to reorder. Pull from your photo library or drag new ones in. JPG or PNG, up to 5 MB each, and a landscape (3:2) shape sits best on the card.
- The basics: a Title (up to 100 characters, and this is what search reads, so put the thing people type), an optional Description (up to 500), and a Category. Category does two jobs: it drives the filters buyers browse by, and a few categories (Eggs, Honey, Meat, Dairy) ask you to tick a short safety acknowledgement before you can save, because they carry food-safety rules.
- Pricing model: two choices. Pay in full, or Deposit + Balance, where the buyer pays a deposit up front and you charge the rest to their saved card once you have weighed or finalised it. That second one is built for bulk meat, produce and seafood, where the exact price is not known until it is cut.
- Price and stock: your base price is per unit and GST inclusive. Stock is a plain counter: 0 shows as out of stock, so set a high number like 9999 if you do not track stock.
- The extras: a Unit (500g, kg, dozen; skip the word "per", the app adds it), Product variants for sizes or options under one product, and Volume pricing, up to five tiers where you set the total price for a quantity ("3 for $20", not the each-price), and buyers see "from $X" on the card. Optional weight, dimensions and diet type finish it off.
To save, you need a title, a price, a category and one photo. Everything else can wait until you have a minute.
Loading a whole catalogue at once
If you are setting up with a real range, Bulk import is the reason to do it on the portal and not the phone. Drop in a CSV and bring in thirty-plus products in one go, instead of the same form thirty times over.
The media library
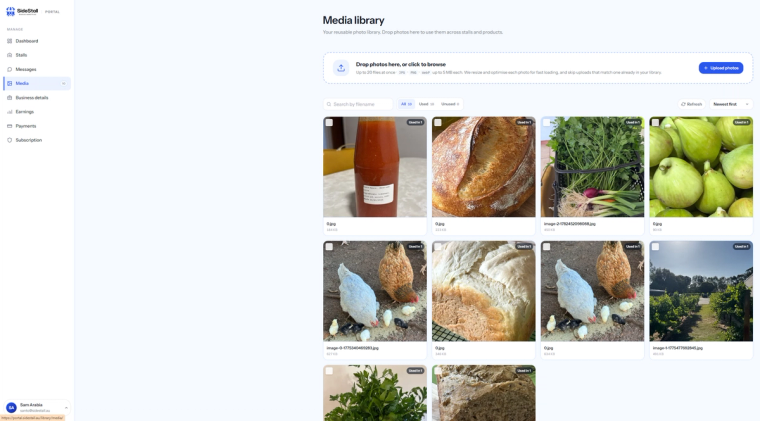
The Media library is your reusable photo store, so you photograph a jar of honey once and use it across every listing it belongs on. Drag in up to 20 photos at a time; the portal resizes and optimises them so your pages load fast, and it skips an upload that matches a photo already in your library. Each photo carries a "Used in N" badge, you can see exactly where one is used before you delete it, and you can sort by Most used or filter to Unused to clear out the ones doing nothing.
The stall page and its settings
Each stall has a detail page with status cards at a glance: Stall status (with the LIVE toggle), Listings (a shortcut into the product manager), active Orders, and Payments (whether Pay-in-SideStall is connected). There is a Preview as buyer button so you can see your page the way a customer does before it goes live.
Under settings you will find your address, which is hidden by default (buyers see an approximate area, and you can choose to show the exact address), your operating hours day by day, your payment types, and two switches worth knowing: Accept pre-orders and Accept instant orders. Those let you pause either kind of order for a bit without taking the whole stall offline. And if you ever retire a stall, Archive hides it from buyers; their past orders, reviews and conversations stay readable on their side, and your handle stays reserved. It is a deliberate one: you cannot undo it from the portal.

The money: earnings and payouts
Earnings shows what you have actually earned across all stalls, after fees, for this week, this month or all time. The headline is your net, then the breakdown reads plainly: Revenue, minus Platform fees, minus Processing fees, with a count of orders paid and pending, and the same earnings split out by stall.
Payments is the Stripe side: what has paid out, what is pending, your payout schedule, and a live payout history pulled straight from Stripe. You can also do your Stripe ID verification here on the desktop, with a real keyboard and your documents on the same screen, instead of squinting through it on your phone.

Business details and tax invoices
Business details holds your legal name, trading name, ABN and GST status. It earns its place by doing two jobs at once: it appears on your tax invoices, and it pre-fills your Stripe onboarding so you are not typing the same details twice. On Commercial the portal generates ATO-compliant tax invoices and purchase orders as PDFs, which is what a GST-registered seller hands over. The ATO's rule is that if a buyer asks for a tax invoice you provide one within 28 days, unless the sale was $82.50 or less including GST. If you are not registered for GST you cannot use the words tax invoice, so a plain invoice is what goes out.
Managing your plan
The Subscription page is where you manage billing, switch between monthly and annual (annual saves about 17%), or cancel. Commercial is A$150 a month with the first 30 days free, and it includes the portal, the tax invoices and purchase orders, product variants and purchase-order management, on top of everything in Standard.

What it actually changes
Your buyers notice nothing. What changes is your side of it. If you sell on the odd weekend, the app is plenty. The portal earns its keep once you are loading a full catalogue and pulling invoices every week.
If you are already on Commercial, a good first ten minutes: put your photos into the media library, run a Bulk import if you have your range in a spreadsheet, and if your Stripe verification is still waiting, do it here with your documents on the same screen.
The first 30 days are free on your first Commercial subscription. See the plans →